Print and Play Instructions
Printing the cards
Here are some tips to help you:
- Take it slow!
- Check your ink or toner levels before you start
- Check your “print preview” before printing
- Try a single page before printing everything
We recommend printing on card stock. You will need either Letter (8.5" × 11") size or A4 (210mm × 297mm) paper.
When you print, be sure to:
- Turn double-sided printing on
- If your printer doesn't support double-sided printing, you'll need to ONLY print odd pages (eg. 1, 3, 5...) otherwise you'll waste a lot of ink or toner!
- Set “scale” to 100% (most printers default to this)
- Check the print preview before printing
If all goes well, you should have a set of cards ready for cutting!
Getting ready to cut
Most of our game cards print in a 4 × 2 grid. Each page has cut marks along the edges to show where to cut. Done properly, this will make cards that don’t have any lines on their edges.
You can use scissors if you like, but for straighter cuts we recommend using a rolling blade paper cutter, like this one:
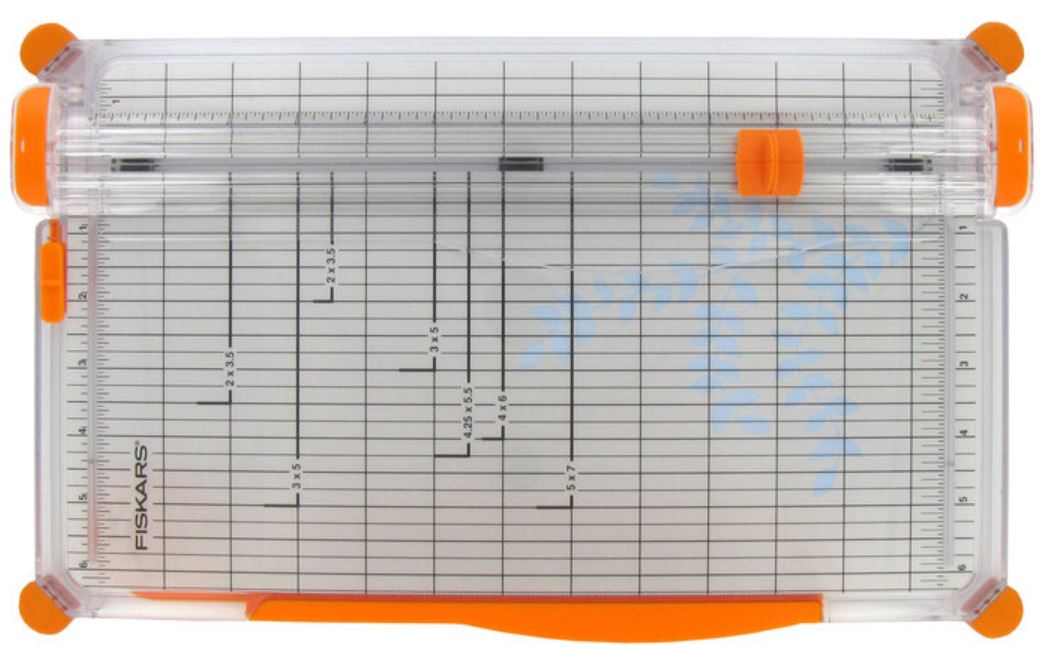
Rolling blade cutters:
- Cut very straight
- Are pretty safe, even for kids
- Are available at Amazon, Wal-Mart, or your local craft store for about $10-20
- Are a great investment for future print & play projects
Cutting out the cards
The illustrations below are for standard playing card size (2.5" × 3.5").
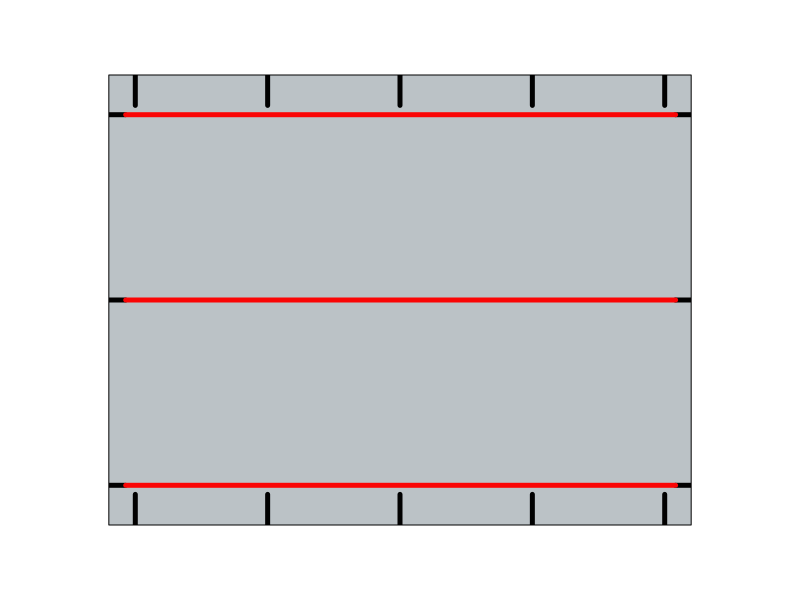
- Cut horizontally along the red lines, as below, following the printed guides. Do not cut all the way from edge to edge or you’ll lose your vertical cutting guides. Instead, start cutting in the middle of each line and work towards the edges. When done correctly, your page will be intact with three horizontal cuts inside
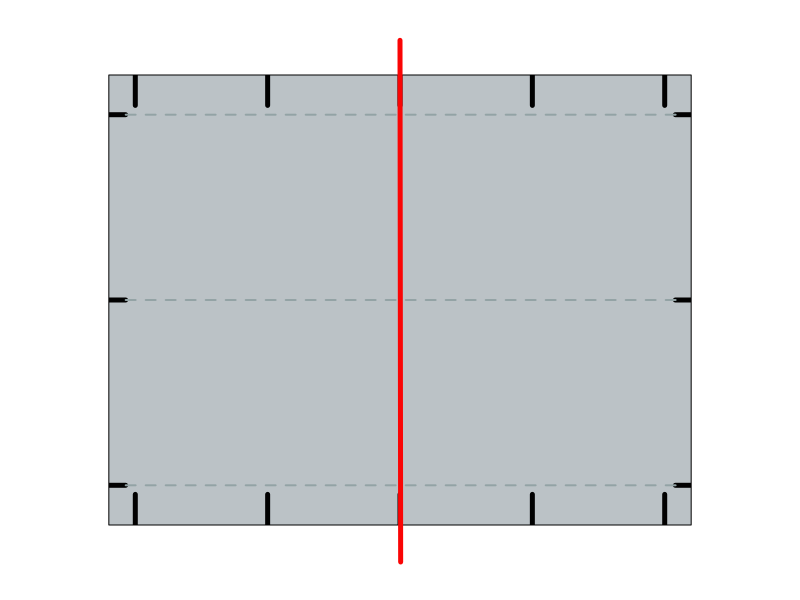
- Next, cut through the middle of the page, using the two guides as shown below. You should cut all the way through, carefully, and end up with two half pages
- Take one of the half pages, and cut the next line, as shown. Your first two cards will be free!
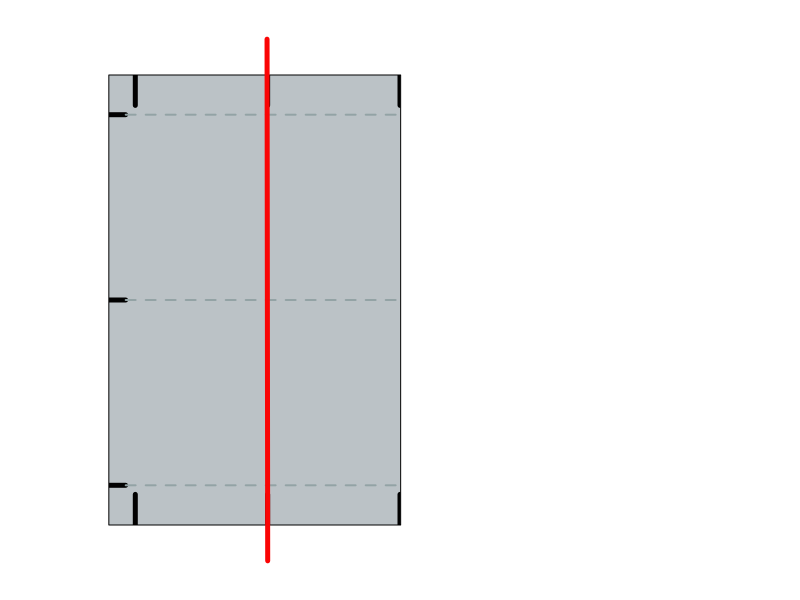
- With what’s left of the half, cut again and your next two cards will be free!

- Repeat steps 3 & 4 on the other half of the page
- Repeat above for the rest of your card pages
Now that your cards are all cut, you may want to:
Put them in card sleeves to protect them. We recommend these.
Round the corners. Especially if you printed on card stock and don't want to use sleeves, you may want to get a corner cutter like this one.